How to Make a Kitchen Handmade Sink
2022-11-08
It is well known that a handmade sink brings so many advantages. Firstly, it is unique since no two sinks are made the same. Secondly, it has a higher quality and lasts longer than a regular sink. Finally, it gives your kitchen a custom look and feels that cannot be duplicated by a machine pressed or drawn kitchen sink.
There are the best sink manufacturers all over the world. People may think that the best sinks are made by famous brands. Actually, some best quality handmade kitchen sinks come from small handmade sink factories.
SUS304 stainless steel sheet coil is used to make high-end kitchen handmade sinks. Here this article will very detailly introduce the steps of manufacturing a kitchen handmade sink from the SUS304 stainless steel sheet coil.
Step 1: Purchase of coil material
Purchase of the stainless steel raw material, which is the sheet coil from the stainless steel factory, is a big topic. Because the material cost will compose over 60% of the total product cost for a handmade sink, it is very important to purchase a good quality coil with the best price.
As a sink factory, here are a few things we are to be considered when purchasing sheet coils:
Grade and surface condition of the coil
Thickness of the coil
Width of the coil
Weight of the coil
Length of the coil
Source and price of the coil
After-sales service from the supplier
Once the raw material arrives at the factory, the first thing that our QC Department will arrange to do is to check its quality. The stainless steel sheet should be flat, clean and free of rust, oil or other contamination. The surface should be free of scratches, dents or other blemishes. After quality inspection, the coil will be cut to size and marked for identification. Generally speaking, the better the quality of raw materials, the higher the quality of the final product.
Step 2: Coil processing
After the raw material is cut to size, it will go through a series of processing steps to turn it into a usable kitchen sink. After processing, the stainless steel metal coil is flattened and cut to the desired size.
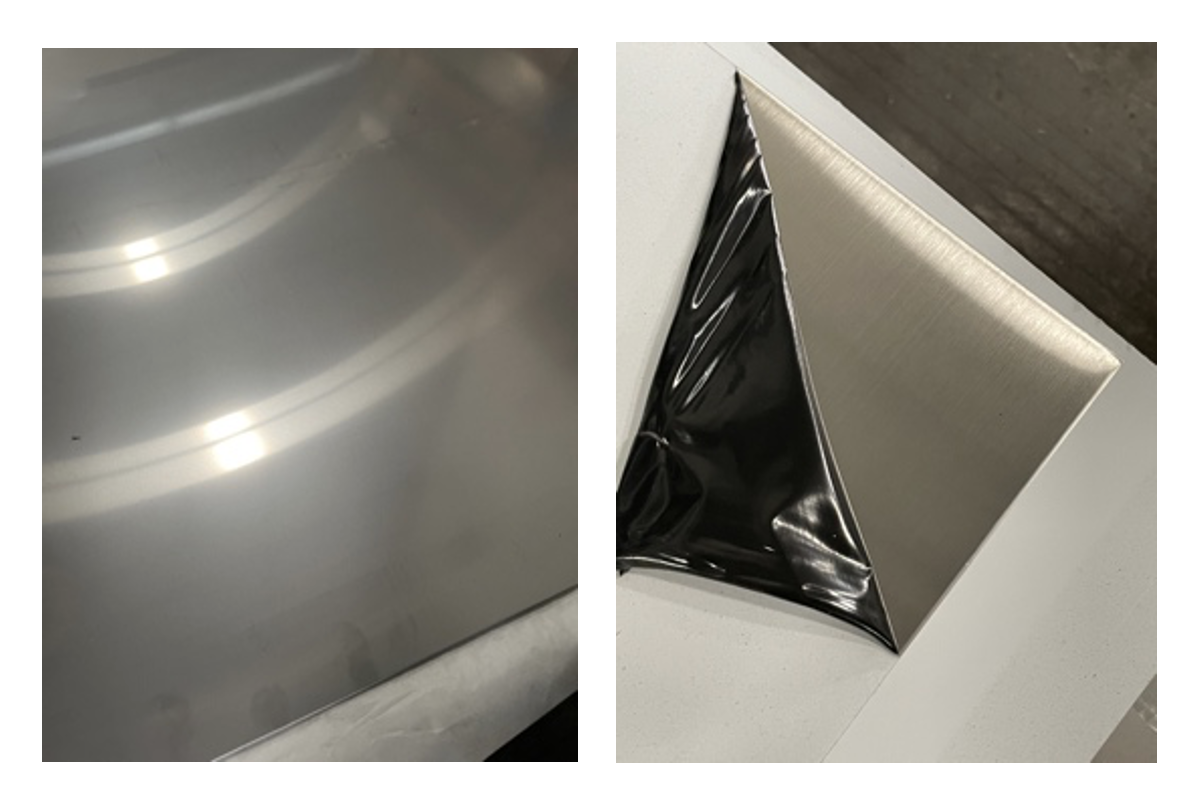
The left photo is of the 2B material without grain, and the right one is with frosted grain. The back of our cut stainless steel comes equipped with white adhesive tape to prevent scratching or damage during handling. These tapes will be removed in our final polishing step.
Step 3: Laser cutting
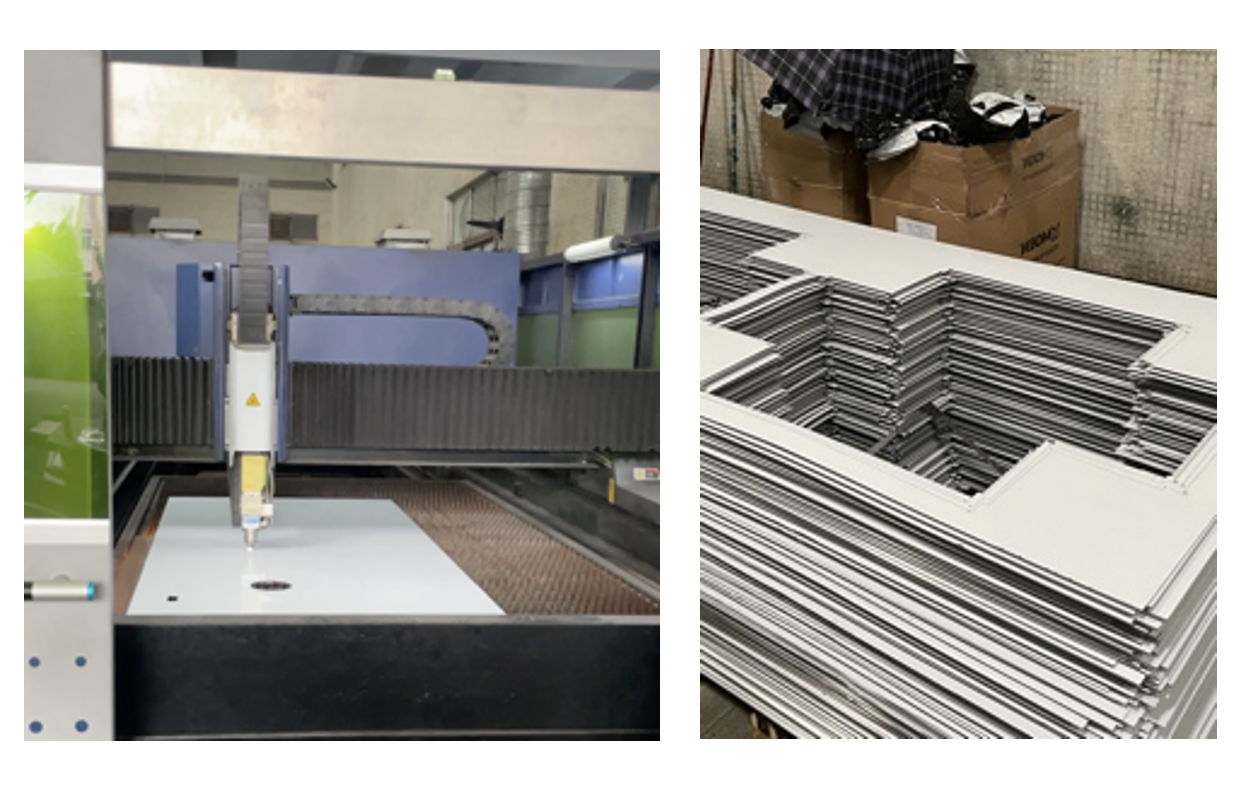
The steel plate is placed in the laser cutter and then the desired shape is cut out by the laser nozzle. First, it will cut a circle (underflow), followed by a rectangle (overflow), and lastly, a cross shape. After cutting, all that should be left are small pieces of scrap metal. This process is done by the precise laser cutter to make sure that all pieces are identical in size and shape, as we programmed.
Step 4: Drain holes and water diversion line
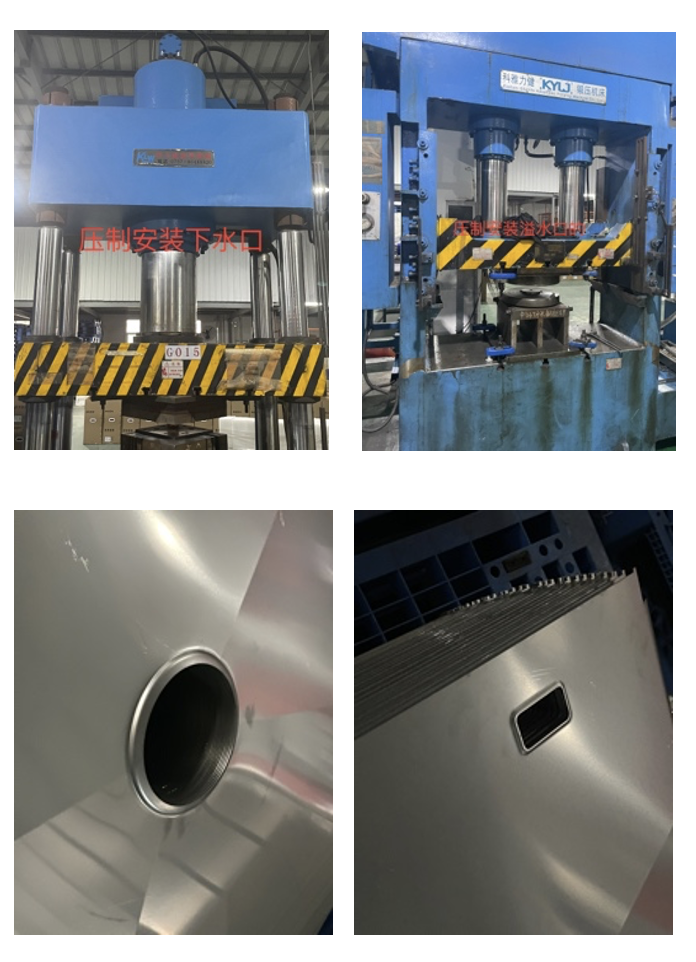
As shown in the image, a CNC machine to punch and install a drain hole lip and another CNC machine will install a water overflow hole lip on the sink. Kitchen sinks typically have either one or two drain holes. A double sink will have one hole for each basin, while a single sink usually has just one hole in the middle. The drain holes are where the plumbing connections will be made to connect the sink to the rest of the kitchen plumbing.
Cresheen's handmade sink also comes with an overflow hole to prevent the sink from overflowing if the faucet is left on by accident. The overflow hole is usually located near the front of the sink, near the faucet.
Step 5: Mechanical automatic folding
Cresheen's handmade sink uses a CNC machine to mechanically fold. The side of the sink is first bent down and then the front and back are bent up to form a rectangular shape. This process is completed entirely by machine to ensure that each sink is exactly the same size and shape.
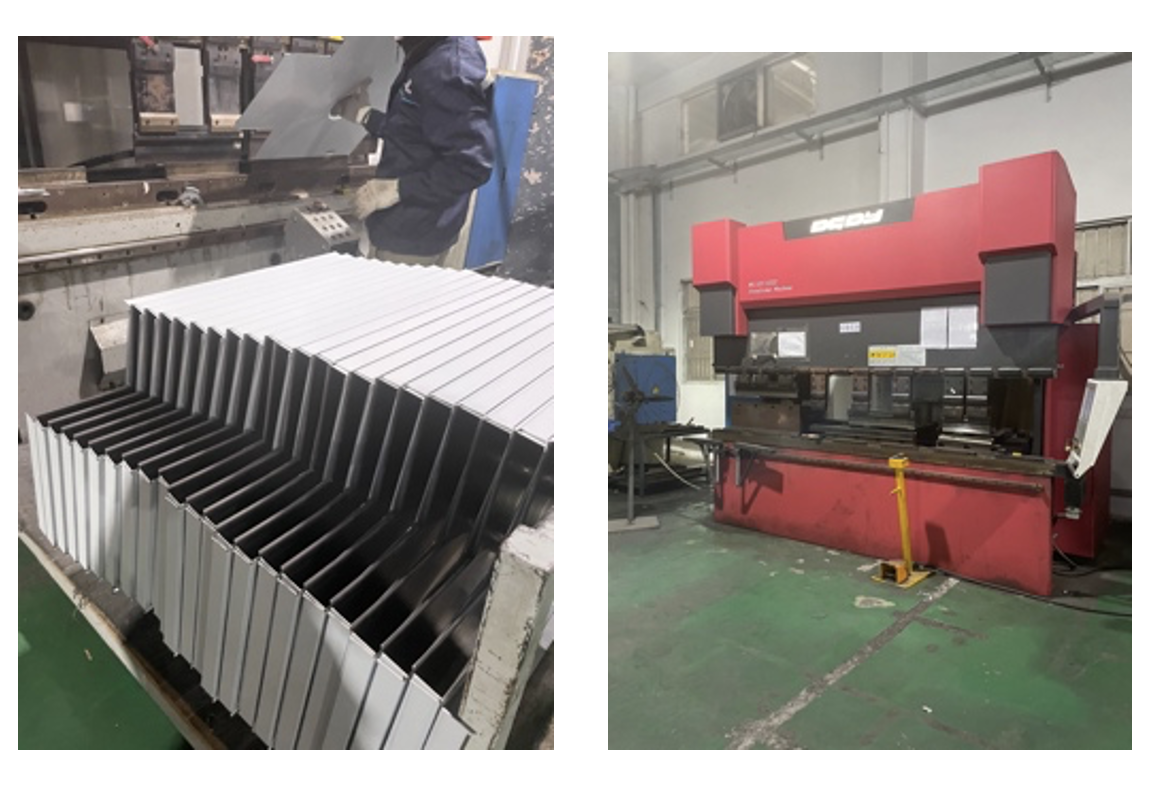
The folding method here is customizable and designable. For example, when bending a sink with a drainer, first bend the front and back up, and then the side down. If there is no drainer, bend the side down first followed by the front and back.
Step 6: Manual welding
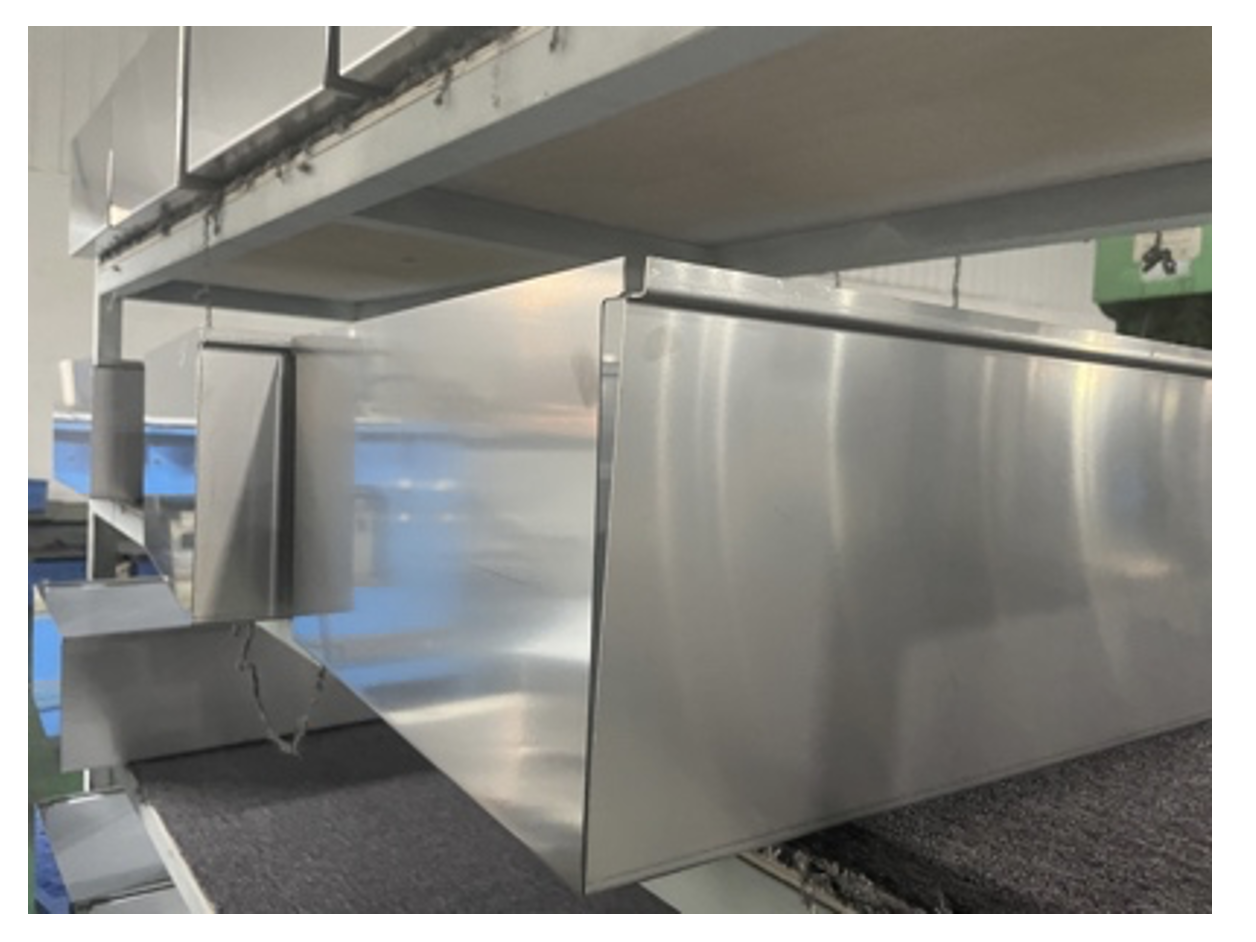
There will be gaps around the folded steel plate, these gaps need to be manually welded closed and spot welded into shape. In order to have a beautiful and shiny finish, the welding marks need to be as small and unnoticeable as possible. Our factory workers are skilled at welding and have many years of experience.
Throughout these processes, our quality control team and workers will keep checks to ensure that the basin is formed correctly so that installation can go smoothly.
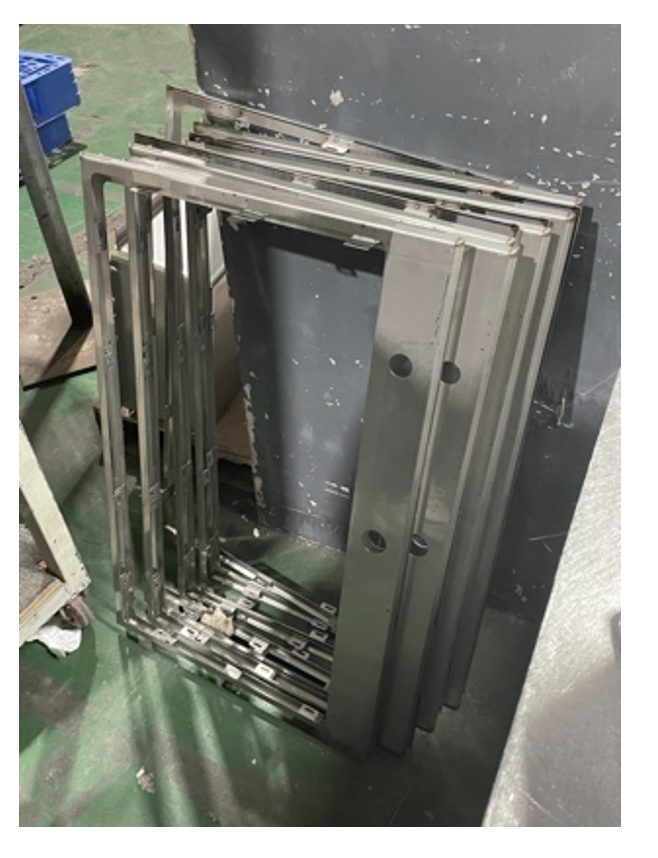
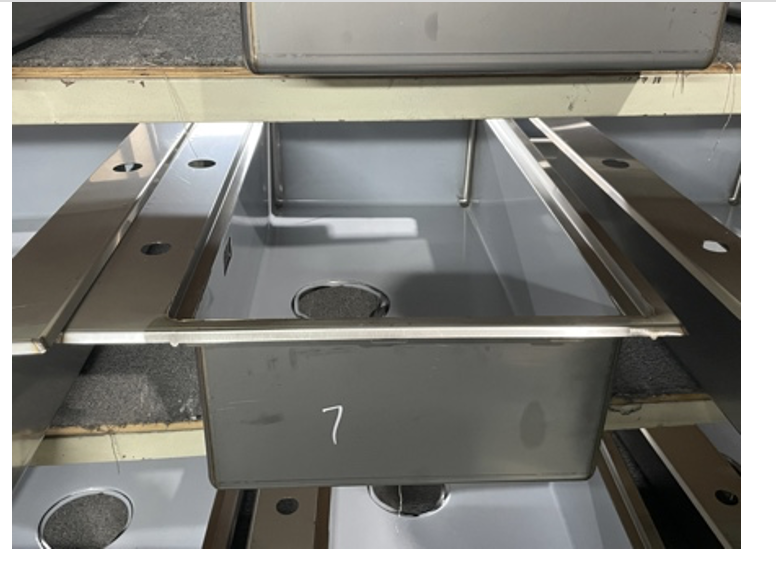
Sometimes it may be necessary to weld other parts of the sink accessories, depending on the needs of the product, such as the soap dispenser and faucet tap/faucet panel. This panel can be welded to the manual sink body. The sequence is: panel - bending and assembling - set of basin guts - spot welding - manual welding.
Panel: The sink panel is made from a single piece of stainless steel that is laser cut to size. It is then bent into shape and the edges are welded together.
Bending and assembling: The sink panel is first bent into shape and then assembled into a basin. The edges are welded together and the sink is ready for welding.
Set of basin guts: The sink basin is formed by folding a piece of stainless steel sheet metal. A hole is punched for the drain and another for the overflow. The edges are welded together and the sink is ready for welding.
Spot welding: The sink is welded together using spot welds. This process joins the pieces together using small, localized welds.
Manual welding: The sink is welded together using manual welding. This process joins the pieces together using larger, more visible welds.
Step 7: Machine polishing and grinding
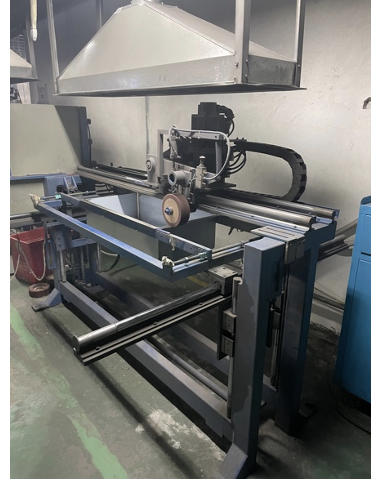
The next step is to polish the sink body to remove any welding marks or other industrial markings. The machine will have a sand belt that needs to be installed by the master, who will then use this for initial sanding. Abrasive belts are used for grinding and polishing the plate surface to make it flat and any defects such as dents or scratches are removed. The belts are available in different grits, from coarse to fine. The coarse grits are used for removing scratches and defects, while the fine grits are used for polishing.
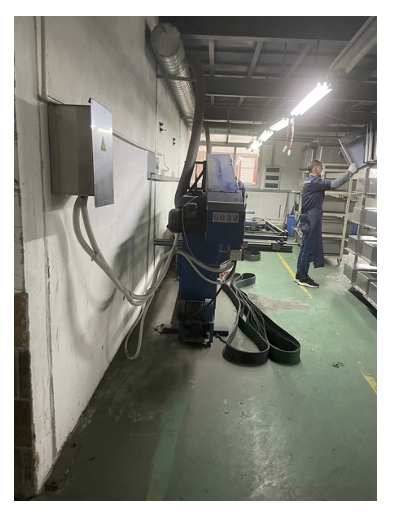
As seen in the photo above, this is step two of sanding. After the first layer has been removed (with coarse sanding), there are still many details that need to be processed. The tools on the workbench will assist the craftsman with polishing the corners and edges of objects.
After that, the workers on the manual table will take care of the rest of the details, including sanding down the welds in a triangle machine. They'll also remove any white protective tape inside the sink at this stage.
As you can see in the image above, this is the third sanding step. The sanding head has been made finer than in the last workshop, so continue surface treatment accordingly.
The final stage of sanding also has more than one process. This is when the firm coating inside the basin needs to be removed. The craftsman may need to apply talcum powder or thinner at this time, or even use an electric heater in colder weather so that no glue is left on the sink body. There are also other tools available which will help with further sanding if necessary.
Step 8: Anti-condensation insulation and noise-dampening pad
For kitchen sinks, it is best to apply an anti-condensation insulation and noise-dampening pad inside the sink. This will help to prevent any moisture build-up and also reduce noise from water droplets hitting the basin.
To reduce the noise of water hitting your sink, we first attach a sound-dampening pad to its bottom. Then, near the sink (for dust reduction), we use a spray gun to apply an anti-condensation coating to the surface of the basin.
Step 9: Packaging
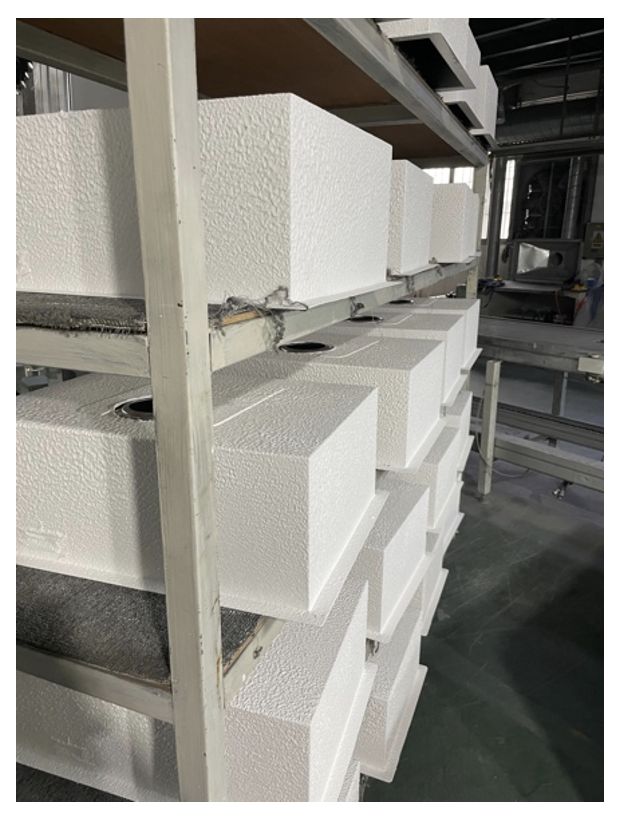
Packaging is very important to protect the handmade sink during delivery. We use a high-density foam sheet to make sure there is no movement inside the box and then seal it with tape. We also normally write "fragile" on the outside of the box so that the courier knows to handle it with care.
We tailor the packaging of our handmade sinks to each customer. If they need to sell them individually, we will package them accordingly. However, if there is no need for packaging, we will make a sink body with a little slant on both sides to facilitate stacking and then pack and send it away.
Conclusion
As you can see, there are many steps involved in making a high-quality handmade sink from scratch. It is a time-consuming process but the result is definitely worth it! If you are thinking about getting a kitchen sink that is both unique and of the highest quality, then consider opting for a handmade option.
FAQ
What is the MOQ of Cresheen's handmade sink?
The MOQ of our handmade sink is 50 pieces.
How long does it take to make a handmade sink?
Depending on your requirement and order quantity, it usually takes no more than 45 days for us to complete an order.
What are the dimensions of Cresheen's handmade sinks?
Fully customizable according to your requirement.


